Pages

Friday, August 12, 2011

Spiced olive oil


My hubby likes to play chef…a lot. He’s an amazing cook and constantly comes up with gourmet meals for the daughter and I. So, when he decided to make his own spiced olive oils, I just thought…gotta blog it!
We found these oil dispensers at Wal-mart.  They were $3.97 for a set of 2. We got 2 sets. The olive oil hubby used was just the Kroger brand of Extra Virgin Olive Oil. You could use whatever type you like.
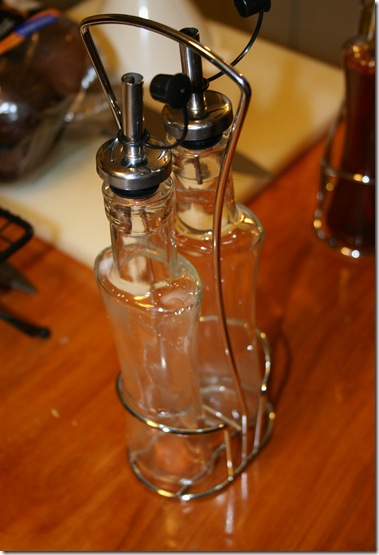
IMG_0340
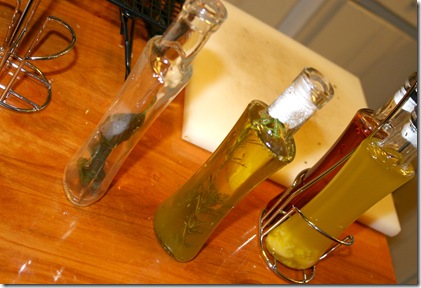
He made four types…red pepper, garlic, basil, and rosemary. Those are the four main spices he uses in cooking. If you make these for your home, go with whatever spices you use regularly.
Measure the oil to fit in your containers. After washing the oil dispensers, we filled with water and measured how much would fit. Then poured that much oil in a saucepan. (Make sure to leave enough room to fit the spices as well) Add in the spice you are working on. The amount of spice you add is a personal preference. The more you add, the stronger the flavor will be in the oil. Bring the oil to a boil and then let simmer for 5 minutes. Cool to room temp, then pour in your dispenser.
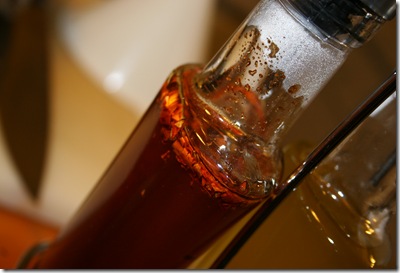
Here is the red pepper and garlic versions. They will be cloudy at first, but after they sit overnight, the oil will clear up. The spices will fall to the bottom, if any is left in your oil. (You can always strain out the spices before pouring in the dispense…again, personal preference)
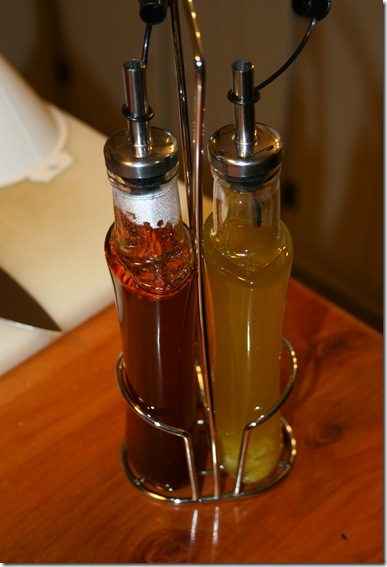
IMG_0341
IMG_0342
IMG_0343
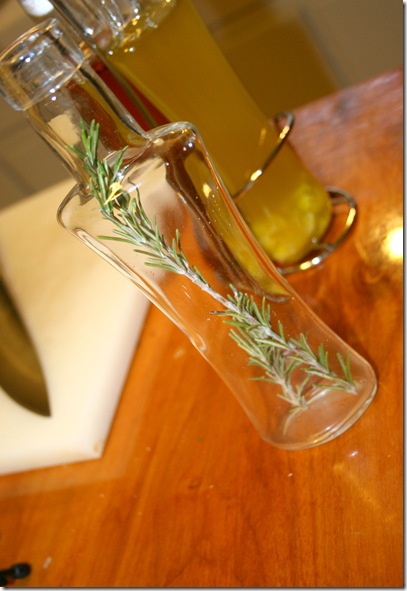
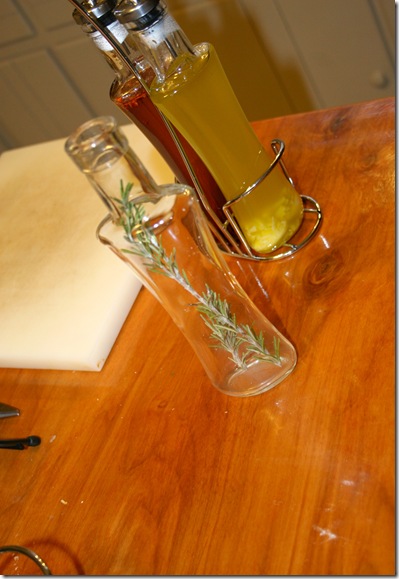
For the rosemary and basil versions, hubby put sprigs of the the fresh herb in the dispenser as well as in the boiling oil. It’s just prettier that way.
IMG_0344

IMG_0345
IMG_0346
IMG_0347
Sorry there isn’t a beautiful finished picture. You see those wonderful slices of French bread in the left corner??? Well, as soon as the basil version was done, we had to pour some over the bread and try it. Enough said!!!!
If you make your own, let me know how it turns out. We actually made these a couple months ago. I wanted to see how we liked them before posting this. Let’s just say We barely have any left! Time to make more!!!!

Thursday, August 11, 2011

Another photo frame


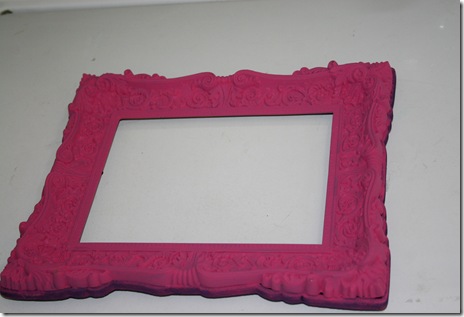
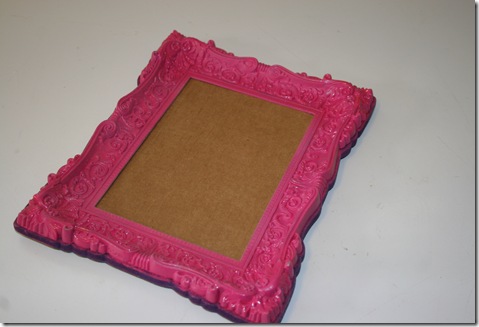
On the same trip to Hobby Lobby that we found the black glitter frame, we also found a shiny hot pink frame. Of course the daughter and I had to make our own version of that as well!

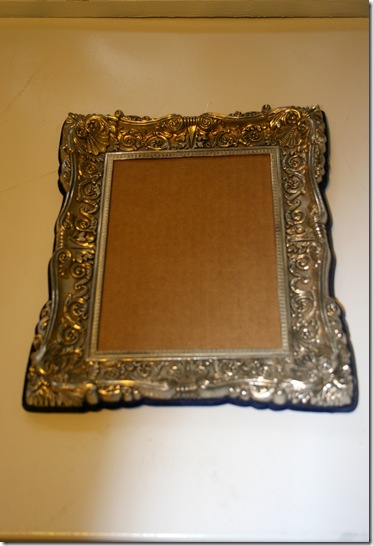
Using another Goodwill frame, this one cost $2.00 because it’s heavy and pewter,

IMG_0560

We painted it hot pink. This was done with the $1.29 acrylic craft paint. We actually had to use a few coats to cover the pewter. I didn’t think to spay primer on first. Oh well, you live and learn!

IMG_0624

Let the acrylic paint dry completely.

 IMG_0626

Once it was completely dry, we sprayed clear gloss over it.

IMG_0703

Gotta love these cheap and easy redos!

Now just to find the perfect pics to put in daughter’s 2 new frames…

Wednesday, August 10, 2011

Glittered photo frame

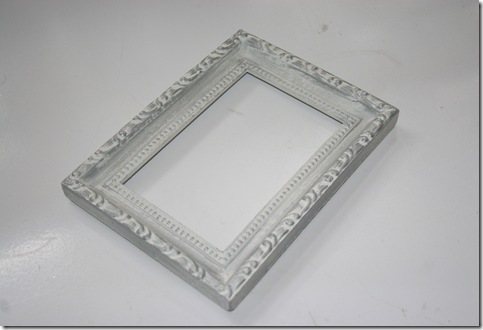
The daughter and I were walking through Hobby Lobby recently. We came across a really cute photo frame. It was all sparkly in black glitter. Daughter wanted it…I didn’t want to spend $29.99 on it…so we came up with our own.
If you haven’t figured it out by now, I LOVE Goodwill! I am constantly finding items to redo. In fact, I go to their photo frame department on a regular basis and just pick up every interesting frame they have! The one in my town keeps a huge stock of them and they’re always 50 cents to $2.00 a piece! On top of that, if you catch them at one of their 50% off sales, you have 25 cent frames! Come on people…where are you going to find that deal elsewhere?
This particular frame would be one of those 25 cent frames! It didn’t come with a back or glass, but that’s easy to fix! I’ll do a post on that one day, but for now…just know a piece of a cardboard box works wonders to go in the back and you can get a piece of glass cut at Lowe’s or Home Depot for pennies!
On with the frame redo…
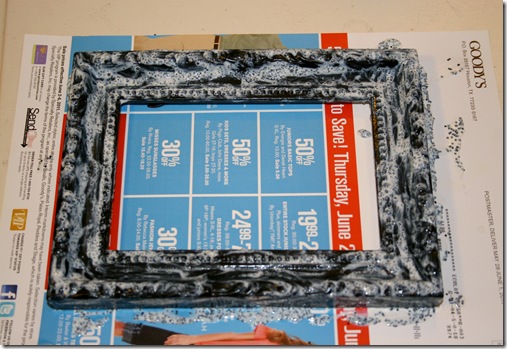
IMG_0533
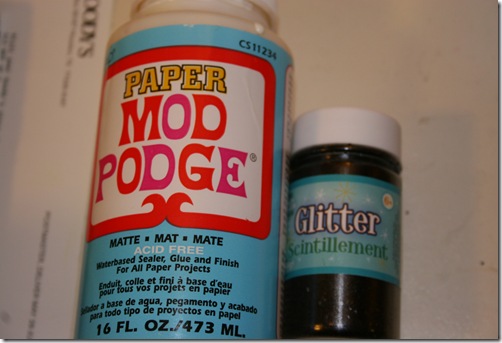
To make my simple white frame all pretty and glittery, I used Mod Podge and Glitter. (both purchased at Hobby Lobby, but you can find them at Wal-mart, Michael’s or your fav craft store)
IMG_0536
I forgot to snap a pic, but I spray painted the frame black before we started the next step.
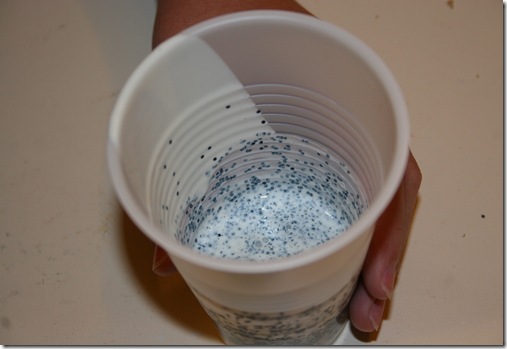
To make it super easy for my daughter to do, I took a small plastic cup, poured in some Mod Podge and some glitter and mixed it up.
IMG_0534
Since the Mod Podge will dry clear, you can just paint it on. You can see where the frame was painted black in this pic.
IMG_0535
Once the whole frame is covered in the Mod Podge/Glitter mixture, let it dry for a few hours. We let ours dry overnight.
IMG_0537
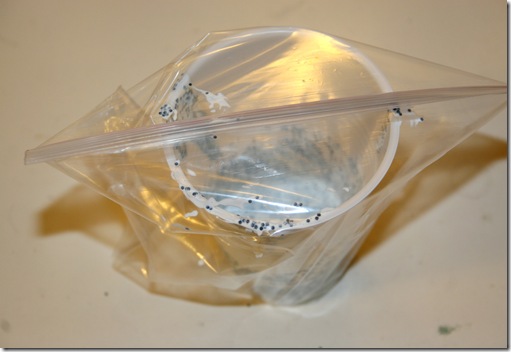
To save the leftover mixture, just place the cup in a sandwich bag and zip. It will stay moist for days. I really don’t know how long it will actually last, because I usually toss it when I’m done with my project, but I know I’ve kept it this way for a couple weeks.
IMG_0538
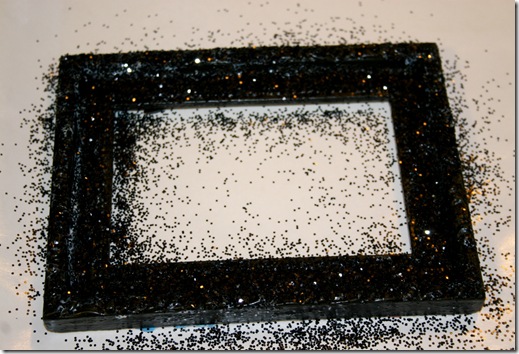
If your frame isn’t as sparkly as you’d like, you can always add another coat of the Mod Podge mixture and then just drizzle glitter over the top. That’s what we did.
IMG_0539
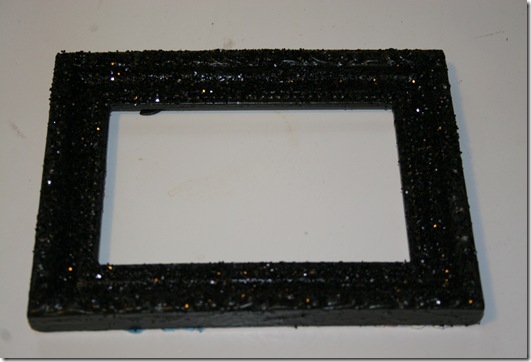
When it’s completely dry, shake off the excess glitter and you’ll have a super cute sparkly frame for no where near $29.99!!!
IMG_0558
Dear Daughter loves it!!!!

I'm linking up with Domestically Speaking's Power of Paint party. Go check out all the cool paint redo's!

Tuesday, August 9, 2011

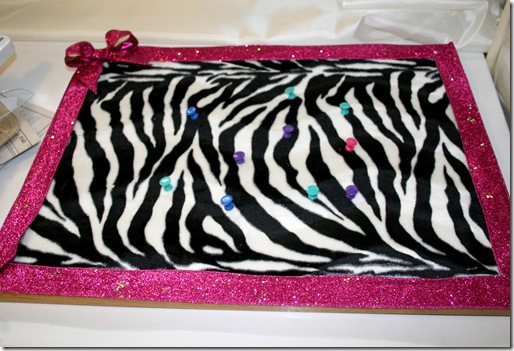
Zebra print corkboard


My daughter LOVES zebra print and hot pink! Her bedroom is done with zebra print, her backpack (seen yesterday on here) is zebra print, and who knows what else she has that’s zebra print. So, in keeping with the zebra print theme…

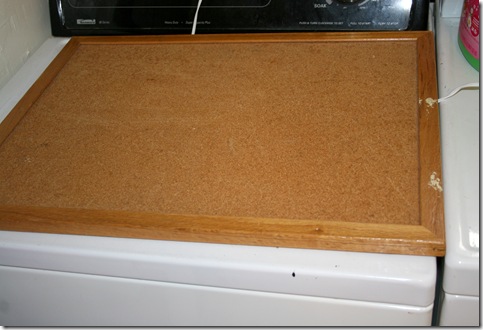
I found a corkboard at Goodwill for $2.00.

 IMG_0617

Took some leftover zebra print fabric from the chair make-over, and a 3.00 roll of sparkly hot pink ribbon…

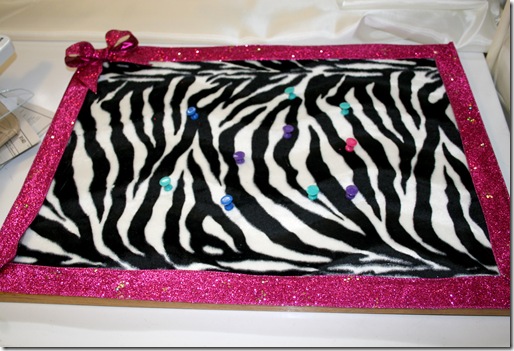
Cut and hot-glued the fabric and ribbon down…

IMG_0618

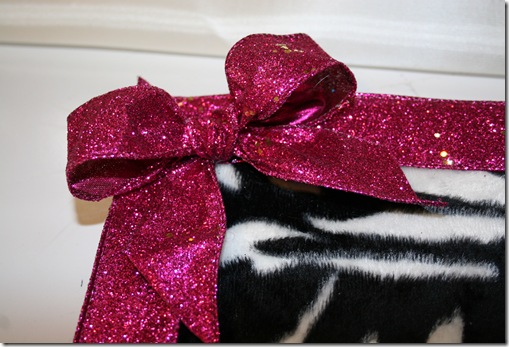
Made a pretty bow for the corner…

IMG_0619

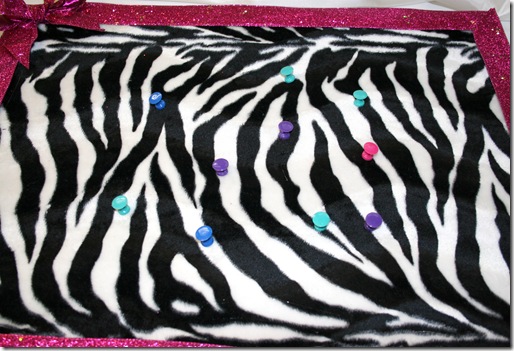
Stuck in some colorful push pins…

IMG_0620

And called it cute!!!

Daughter LOVES it!!!

IMG_0618

Me too!

Monday, August 8, 2011

Zebra print backpack


I can’t believe it’s that time of year again! School started last Monday in our neck of the woods. My sweet baby girl is now a 12 year old 7th grader!!! Insane…I know!!!
Being that she’s not a teenager and yet not a kid (according to her) anymore, we had to do something a little different this year. A regular ole’ backpack just would not work!
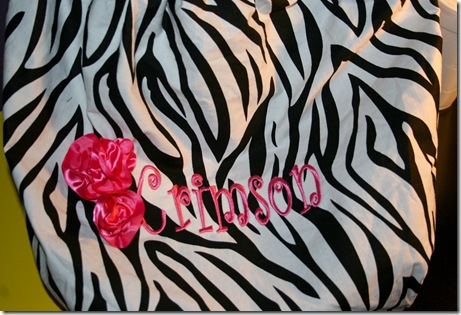
We found a zebra print purse at Wal-mart. It was only $10.00!!! I took it to my sweet friend Elisha at EK2 Designs, here in town, and had her embroider Crimson’s name on it. Hot pink letters of course! Then I took matching ribbon and made rosettes to sew on!
IMG_0684
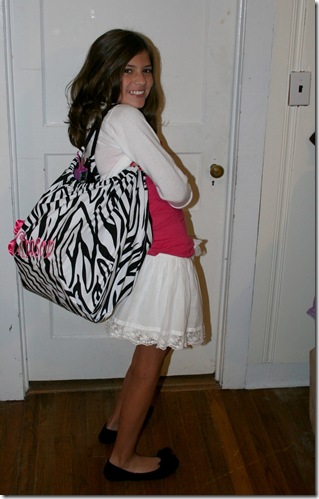
The backpack purse was a HUGE hit! I got so many comments on her first day pics…not just about how much she had grown, but how cute her bag was!
IMG_0685
Major score on the mommy points!!!!
IMG_0688
I couldn’t resist showing you a pic of my darling daughter on her first day! You’re probably wondering why the bag is so full??? That would be all her school supplies! She has 10 classes this year! 10!!! Craziness I tell ya!!!!
Hope your kids are off to a good start at school this year….or will be soon! If you’re homeschooling…more power to ya! I don’t have the patience!!!
Hugs,
A.Rose

**Edited to add...I'm linking up with:


Friday, August 5, 2011

Scarlett’s nursery

Yesterday, I showed you some before pics. Today I’m going to show you the afters…

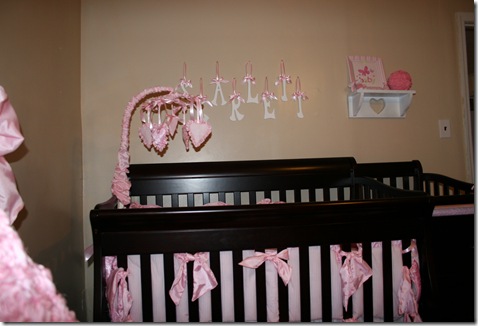
IMG_0664The crib/changing table combo came from Babies R Us. The bedding, including crib skirt, bumper, and comforter was made by me. I also made the diaper stacker and changing pad cover. 
 IMG_0697
Here’s a pic of the comforter. Couldn’t leave you hanging on that one!
IMG_0658
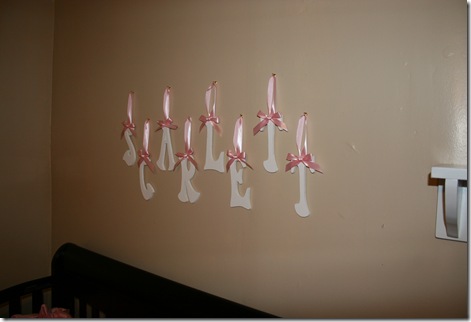
For her name hanging, I bought wooden letters at JoAnn’s. Painted them white and added pink ribbon bows and pink ribbon to hang them. (They are hung with very small brass hooks…if you’re wondering.)

IMG_0663
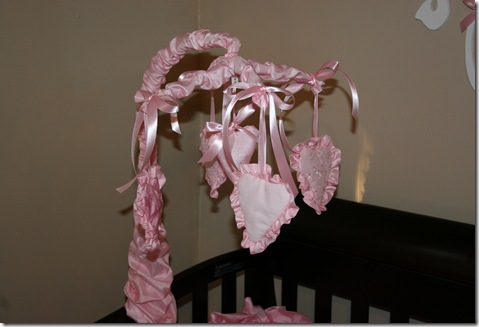
The mobile was originally a Baby Looney Tunes mobile that my older daughter, Crimson, had with her crib. I removed all the Looney Tunes characters and put them up for her. Then covered the entire mobile with the pink sateen material I used for the comforter. The hearts are each of the different pink materials I used for the bedding. The ribbon used to hang them is the same ribbon used to hang the name letters. It was purchased at JoAnn’s as well.
IMG_0672
Here’s another view of the crib. This would be from the glider rocker.

IMG_0550
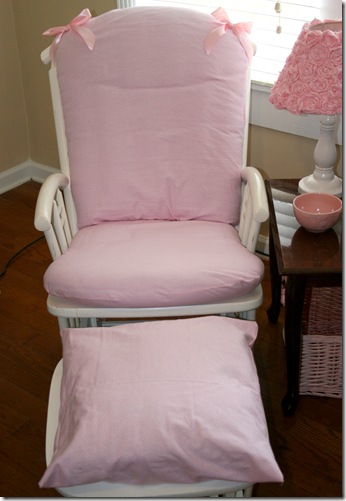
Here is the glider rocker. It used to be all dingy so I bleached it and made it white again. The cushions were originally blue, so I recovered them using the same fabric as on the changing pad cover. It’s a super soft pink flannel with tiny white polka dots.
IMG_0551


Of course I had to show you another pic of the rosette lamp. I showed how to make it here.


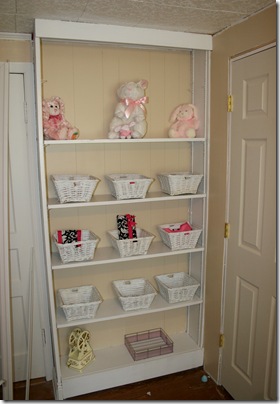
The shelves were painted white with the background the same color as the walls. IMG_0554 I found the white baskets at Wal-mart after Easter. They were originally $5.00 each, but were on clearance for 75% off! Final price… $1.25 each! Score!!!!
IMG_0671
I made a nightlight to match her lamp. I have a post coming on how I did this.  The cord you see is the lamp cord.
IMG_0575
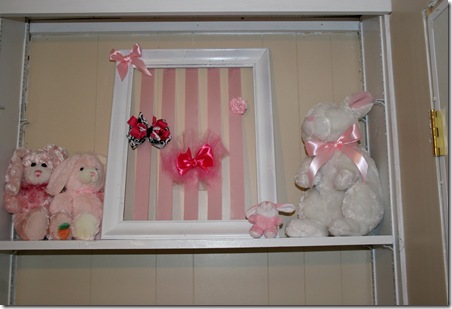
I had to make her a matching hairbow holder. This was done with a $0.25 wooden picture frame from Goodwill. I painted it with white gloss spray paint. The cheap stuff from Wal-mart. Added a bow to the corner, along with a few strips of wide pink satin ribbon and you have a bow holder. (Nothing tricky to adding the ribbon. I just cut strips long enough to reach down the frame and hot-glued them at the top and bottom.)
All the stuffed bunnies are either from my older daughter’s collection of stuffed animals or after Easter clearance sales.
IMG_0693 IMG_0695
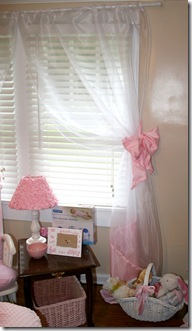
I made the curtains using sheer silky white organza and added the pink silk sateen fabric to the bottom and for the tie back bow.
IMG_0698


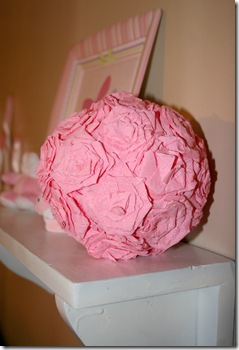
Of course I couldn’t resist making one of the rosette kissing balls. It just went with my theme!!!
There are a few more DIY items in this room…you’ll just have to come back to see more!
Hugs!
A.Rose


Edited to add: I'm linking up with Homemake in Heels , Craft EnvyI Heart Naptime, and The Girl Creative. Also linking up with


and, The DIY Home Sweet Home Project, Design Dazzle.


Thursday, August 4, 2011

Craft room to Nursery

When we found out we were having a new little girl, we decided it was time for my craft room to become her Nursery. Bye bye craft room…

IMG_0367 IMG_0368

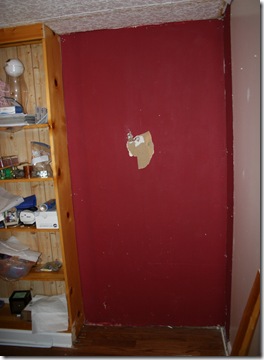
Because we live in a 1950s house and for some reason they liked the idea of needing to go through one bedroom to get to the next…we had to do a little remodeling.  Hubby decided to take out one of the built in shelves and put in a new hallway…


Bye bye wall…IMG_0371

Hello Hubby! Everyone say hi and thank you!

By the way…this used to be a closet for our office…IMG_0373

IMG_0376    IMG_0380

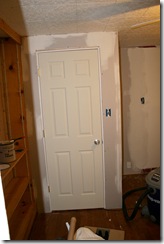
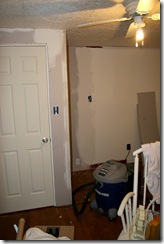
Old wall gone…new hallway installed…new door installed.

IMG_0528 IMG_0529

Old office…

IMG_0530

IMG_0531

Old shelves…

IMG_0532

Come back tomorrow to see what it looks like now….