Pages

Thursday, November 19, 2009

Dining Room Table Refab


I finally managed to get my dining room table finished. She was a doozy!!! (sp?)

Here's the before pic. I actually bought her last October/November. I can't remember exactly, but I can tell you exactly how I felt when I saw her. My dad used to have an antique table pretty much exactly like this. It was in storage in an old house on our property. Unfortunately, lightening hit the house and it burned down.  Of all the things that were in the house, the table was the one thing he continued to talk about, years later. When I walked into Home Again Antiques and saw this gorgeous table with 4 chairs, I had to have it. I was literally crying because I knew it was the same table.

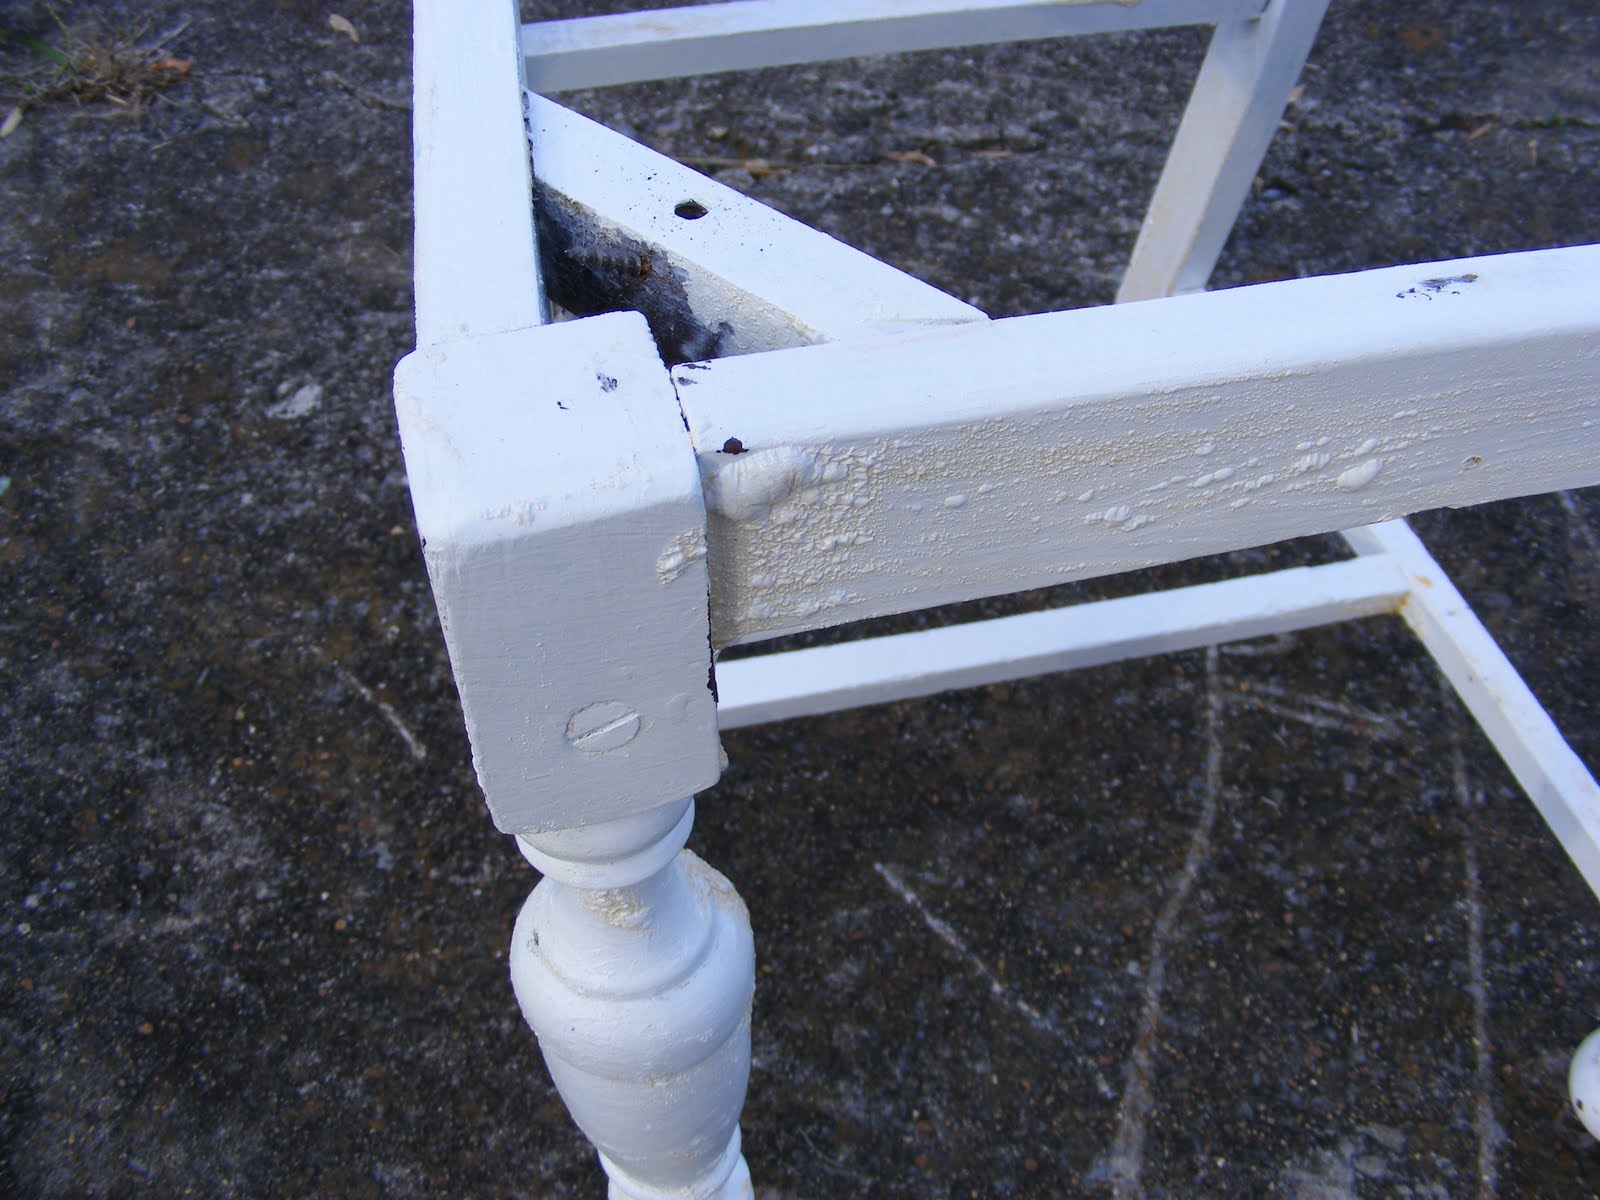
Since we bought it before my bloggy days, we didn't take the true before picture with the awful paint job. This is after we scrapped all the paint off and puttied the areas that were not smooth. Hubby did all the scapping and puttying for me. I gave her a nice sanding after he was done.

So this is the before, but not the true before shot:


Here you can see the BEAUTIFUL legs.


I just LUV all the curves.


The way they used to make rounded areas, is funny to me. They put these little wooden "caps" on it and then rounded them down. So strange. Why couldn't they just turn that section of the wood the same way they did the other parts? Guess I'll never know.


The chairs that went with the table did not burn down. We were using another kitchen table, but still using the chairs to the old table. I think one of the legs to the original table was broken, so Daddy got us a new one.  Here is a pic of the chairs I grew up using.


and a better pic of the scroll work


I used KILZ water-based primer. I hate HATE hAtE oil-based paints! They are a PAIN in the neck to clean up.


She's primed and ready to go...


Another primed shot


First coat of paint


Drum roll please......Ta da!
(about 4 coats of paint later)


Isn't she marvelous?!?!
I so LUV her!!!


These are three of the chairs I bought with the table. This paint job is similar to what the table looked like. Plain white and really chippy. (Not the good kind of chippy)


I used some kind of "super industrial strength" stripper to get the paint off. I would tell you the brand name, but I'm not too happy with it. If you want to know, message me.


Certain areas bubbled up, but most of it didn't. I tried scrapping the bubbled up areas and it became a gooey mess!!! When I finally get all the paint scrapped off...and repaint them, I'll do another post.

For now...they look like this:


This is just a teaser for another post....

Eagan Multipanel Mirror, 45 x 55, Bronze finish

I love this Pottery Barn Mirror, but can't afford to shell out $699.00 for it.
So...
I'm thinking this might work...


Stay tuned to find out!!!

Monday, November 16, 2009

New pie stand and pine cones

I was walking around Wal-mart the other night. Lo and behold, this gorgeous pie stand popped out at me. 
She was on CLEARANCE!! $7.00 Suh-weet!


My hubby brought me home a sweet present. He remembered something from last year! Omigod! I get this plastic bag full of pine cones, I just knew they would look good on the pie plate. Of course he says...I thought you wanted them to make a wreath. What?! Can't a girl change her mind?

Don't they just look so pretty on the pie plate?


Here's a close up...


Stay tuned this week..that ugly brown dresser (what the pie stand is sitting on)  is among a few items that I am painting and re-fabbing! The biggest reveal will be my gorgeous kitchen table.
Just to make you curious...here she is in all her "before" glory...


Hope to see you back...

Wednesday, November 11, 2009

Decopodged Recipe Box - Blue Toile!!!!

My BFF and I were shopping at Michael's a few weeks ago, when we ran across this awesome blue toile tissue paper.


Look...isn't it beautiful? I just love blue toile! And...to find it in tissue paper form...oh my. Well...what to do with the toile??? Hmm??? Let's see..here's a cute little recipe box. Cute, but definitely won't fit into my blue and white kitchen, whatever will we do???
Decopodge it!!!! First we had to cover it with blue and white. The tissue paper was thin, so the original print kept showing through. I think I used about 5 layers of the white and 3 layers of the blue.
Here it is somewhat finished. It still needs something...What about blue ribbon?

Tuesday, November 10, 2009

Tuesday Tute: Memory Board

I have seen memory boards all over the blog-o-sphere, not to mention at stores everywhere. I decided to create my own.

Since I'm trying to be a good blogger...I took lots of pictures!

First, get a piece of sturdy cardboard. You can use a piece of plywood if you'd like, but the cardboard is easier to work with.


Wrap the cardboard in batting. I used some clearance "snow" from last year's Christmas section at Wal-mart. Since my batting was thin, I used 3 layers. You can make yours as "fluffy" as you would like.


Using what I have...I just stapled the batting to the cardboard.


I have to show off the gorgeous material I used...


Wrap the material over the batting and staple to the cardboard. It doesn't have to be perfect. You will be covering the back a little later.


Here she is all wrapped up.


Then using different lengths of ribbon, you will begin your crisscross.
I used the handy dandy stapler again.


Keep going until you get the look you like. If the ribbon isn't in the exact place it should be, just pull the staples out and move it. Easy peasy!


Once you have all the ribbon in place. You will need to sew down each point where the ribbon crosses. I just knotted the end of the thread, stuck it through and tied it off tightly in the back. You could probably staple down the points, if you'd like.


Just because I like to be girly, I found these itty bitty bows in the same ribbon at JoAnn's. A little bit of hot glue from my trusty glue gun stuck them to the points.


I attached a length of ribbon to the top of the memory board to hang it. Then I made a pretty bow with my Mini-Bowdabra and attached it to the middle of that ribbon. ie: the area that would hang on the nail...at the wall.


Then I took glue gunned down fabric to the back of the board, covering all the raw edges.


Here is a close up of the pretty, itty bitty bows.


And there you have it...the gorgeous memory board.


Hopefully, I can give this to the friend I made it for...before she sees this on my blog. Hmm?

Have a great day!


Monday, November 9, 2009

More fantastic hubby dishes

So the hubby can't stay out of the kitchen. It's as if the new plates made him decide to get creative. I don't know, but Crimson and I are LUVing it!

This was a dish he made last week. I should have posted about it the night he made it, but I thought I'd give you a double whammy...

We have apple spiced pork tenderloin, butter sautéed green beans and soy angel hair pasta. DELISH!


The next meal I'm going to show you came from an episode of Bobby Flay's Throwdown. This is called Country Captain's Chicken...or at least the Hubby's version of it.


It has a very tender chicken breast, tomatoes, green bell pepper, parsley, raisins,


slivered almonds, garlic, onions, bacon,


a bunch of spices, and it's served on a bed of softly cooked white rice!

another DELISH dish!!!

Is your mouth watering yet?

I keep telling him he should open his own restaurant, maybe if enough people tell him this....he'll listen?!?!?!

Well, hope you have a great day!

Sunday, November 8, 2009

Not really MIA


Good evening! I hope you had a great weekend! Not that life every really slows down, but I finally have a moment to type. What have we been doing you ask, well let's see...

First there was a cheerleading competition..


Then there was Halloween...


(sorry the pics are sideways...didn't feel like playing with Photoshop tonight)

Then...we were given a piano (Thank you Rene's mom and aunt!) and had to move it. This thing weighs a TON...according to all the manly men that helped with the move!


(Isn't she beautiful? Rene's mom refinished her. The sound that she makes is angelic! LUV it!!!)

After the cheerleading competition, our team went to the playoffs.


(I really should have taken more pics of her hair. I split her hair into pigtails and then split the pigtails in half. I french-braided the four sections separately from the outside to the middle, then joined them into a ponytail. it looked so cute!!!)

I couldn't leave out the silly pic of moi! Go Lions!!!!


(Don't you just love the wig and the mile long sparkly eyelashes???

I'll be back tomorrow with a post about some of the hubby's fantastic cooking! I think the next post will be about a Christmas surprise I'm making...

Good night!