

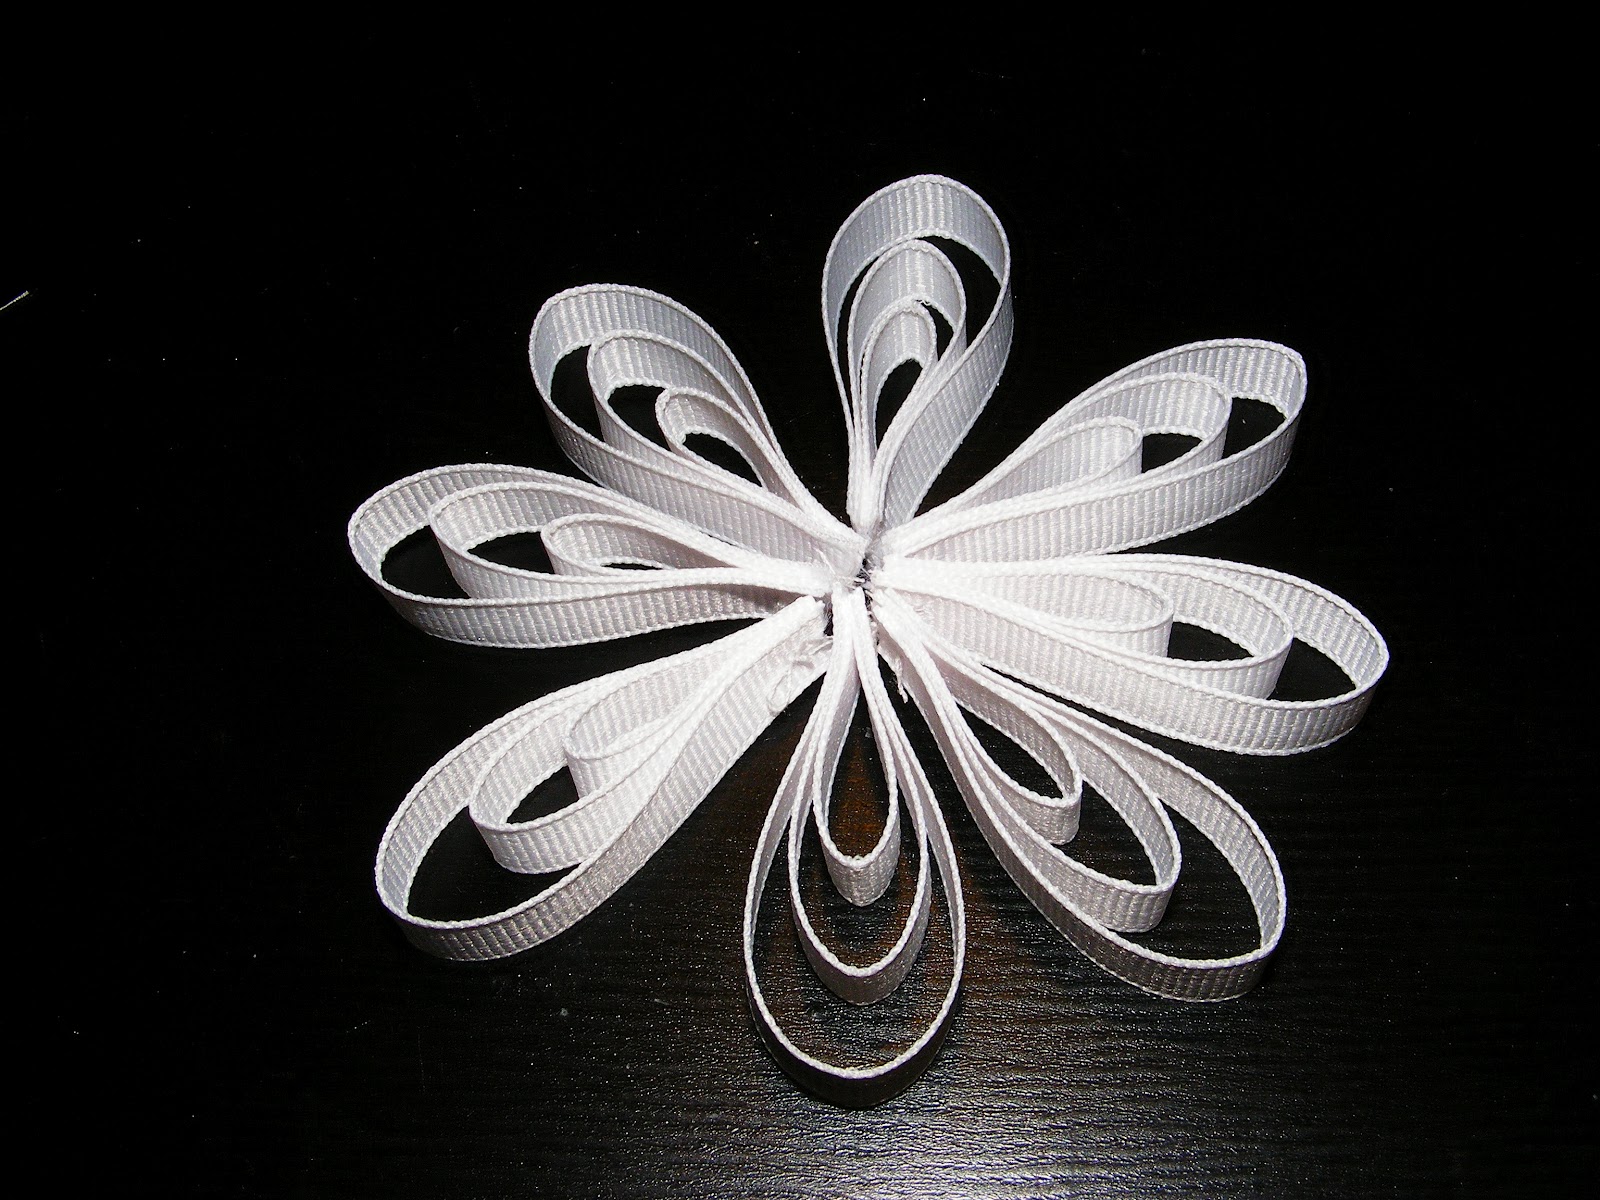
A friend sent me this pic of a flower hairbow she was trying to make.

(I have no idea where the pic came from, so if you know please let me know so I can give the appropriate credit.)
She wanted to attempt her own version, but was having a hard time with it. I played around to see if I could make it and here is what I came up with.

If you want to attempt your own, you will need the following: 1/4" grosgrain ribbon, needle, thread, hot glue gun and hot glue, small piece of felt, hair clip, and something to embellish the top. The original pic used a pearl button, I used a premade ribbon flower.

Start by cutting 8 strips of ribbon at 4", 8 strips at 3 1/4" and 8 strips at 2 1/4".

Take one strip of each size and line up at one end. You will use your need and thread at this point. Run the need through the end that is lined up. Pull the shortest piece over and run the needle through, follow with the middle piece and finally the longest piece.
Here it is with just the 3 pieces lined up...

Shortest piece pulled over...

Middle piece added...

Finally, the longest piece...

Once you have all the pieces on the needle, run a few stitches through to hold it together.

Finger press the pieces so that the folds are creased. This is not super important, but gives the point at the petals versus a rounded petal.

Continue until you have 8 petals...
Next, cut a small circle of felt. This is the back of your ribbon flower. It will help hold it together.

Add a dab of hot glue to the tip of each "petal and place on the felt. I started with 2 directly across from each other and then added the 2 in the opposite direction, so it made a plus sign.

Continue adding the petals until all petals are glued together in the center.

Then add a dab of glue between each "petal" so that they are all attached. I added this between the longest ribbon pieces only.


Flip over your ribbon flower and attach your hair clip. I just ran a line of hot glue down the clip and attached to the felt.

Flip back over and add your embellishment to finish your flower.
I think it turned out super cute. It will be adorable attached to a crocheted headband for a baby or just clipped in an older child's hair.
These directions will give you a flower that is approximately 4 1/2" to 5" across. You could always start with a smaller outside piece and cut each ribbon piece down to make a smaller ribbon. You could even skip the 3rd ribbon and just use 2 pieces for each petal to make small clips for pigtails.
Let me know if you have any questions. If you decide to make your own, please send me a pic or a link to your blog post!


