Pages

Friday, December 31, 2010

A new house?

After all the chaos this year has brought, we have been anxious to start 2011 on the right foot. We decided to sell our current home and purchase a brand new house! We put an offer in on a house we fell in love with and the builder accepted it (after quite a bit of negotiating)! The only issue is...our current house has to sell! It's been on the market for 3 weeks with absolutely no showings! We're blaming the holidays and my real estate agent thinks we'll start getting buyers after the first. So, here's hoping we're in the new house before the end of January!

I want to show you the pic of the new house, but since it's not technically ours, I'll do the pencil sketch thing that some of my bloggy friends have been doing.

Current house:

New house:

Keep your fingers crossed for me! It's such a beautiful house, not my "forever" house, but definitely one that I will be happy to live in for the next 5 or so years! What makes it even better, is the fact that my daughter loves it! She already has slumber parties planned! LOL!

Unlike most of blogland, I didn't want another fixer-upper. After breaking my leg, I'm not as mobile as I have been in the past. We've been remodling our current home for 3 years. A new house gives me the opportunity to relax for a while, only doing the projects I "want" to do, not projects I "have" to do. Now we just pray that our current house sells and we can move into the new one.

I hope everyone has a HAPPY NEW YEAR!!!
Hugs!
Annette

Tuesday, December 28, 2010

It's been a while...

I hope everyone had a Merry Christmas! (or Hanakuh, or Kwanza, or Winter Solstice, or whatever holiday you celebrate) Ours was pretty good, but I just wish it would have lasted longer! I love the anticipation of Christmas more than the actual day.  How about you?

I have come to the conclusion that my "life" has gotten in the way of this blog! I am constantly amazed at how all my bloggy friends have the ability to deal with their daily lives and still post every day! I have nothing but love for you!

Tomorrow will be my 2 year anniversary of blogging! I should do something extra special for it, but I'm having surgery on my foot...again! So, I don't know if I'll get to post or not. (Depends on how groggy I am...lol!)

I did post a link to my new Etsy shop on "my pages" at the top of this blog. I will open it on January 1, 2011. I have been working really hard to get things ready for it. I'm really excited.  You can check it out here! I also linked to my Pampered Chef page! Go check it out!

Have a great day!
XOXO
A.Rose

Friday, October 29, 2010

Hello Bloggy peeps

Just wanted to say I'm still alive. LOL! I've been so busy with my daughter's cheerleading squad, soccer team, and other miscellaneous family stuff, I haven't had a chance to get on here and blog. I have a craft fair coming up next week, but after that I have all kinds of excited news to share.

I do still tweet often, you can find me at http://www.twitter.com/designsbyarose I'd love to have you follow me on there as well!

See you soon!
XOXO
A.Rose

Tuesday, August 31, 2010

Pencil Holder


I went in my daughter’s room the other day. She had pens and pencils laying everywhere! In my craft room I use old soup cans to wrangle my scissors, pencils, markers, etc… I figured it was time to make her something to wrangle hers…

I had some fabric and ribbon left over from this project:

IMG_9962

So I gathered my supplies (soup can – washed and dried, fabric, scissors or rotary tool and mat, glue gun, glue sticks, lighter and ribbon) then got to work:

IMG_9960

Basically, I just hot glued and wrapped the fabric around the can. Then hot glued and wrapped the ribbon around the top and bottom, covering the edges of the fabric. When I cut the fabric, I made sure I had a little extra to fold over the top. This covers any sharp edges that were left when you opened the can.

I had to add a cute bow to finish it off.

IMG_9961

Quick tip: you can heat seal the edges of the fabric just like you would heat seal the edges of the ribbon. Using a lighter or candle, run the edge next to the flame. Make sure you don’t hold it to close or for too long…fabric can catch fire a lot easier than ribbon.

My daughter LOVED it. I think the best part was seeing her smiling face when she realized it was for her!


Monday, August 30, 2010

Rustoleum vs. Krylon - ORB


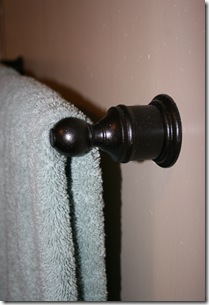
I’m sure you’ve seen ORB (Oil Rubbed Bronze) all over the web-o-sphere by now. I love looking at it’s shiny brownish black shade and how it turns the mundane into the magnificent. After searching for months for the Rustoleum version, I gave up and bought the Krylon brand. (HUGE mistake) Luckily, I found a can of Rustoleum before I had a chance to use the Krylon. (I’m going to say *R* and *K* from here on)

In a recent bathroom remodel, (this will be a post when the bathroom is finished) I chose to spray paint the fixtures instead of buying new.

Not that chrome is bad, (you may be into that sort of thing) I just don’t care for it anymore. Here are my victims:

IMG_9808

And here is the glorious *R* in all her beauty: ( You can just hear the angels singing…ahhhhhh) 

IMG_9810

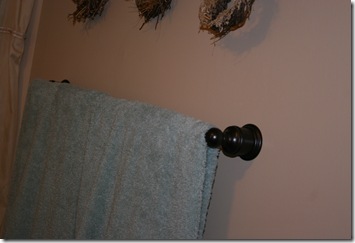
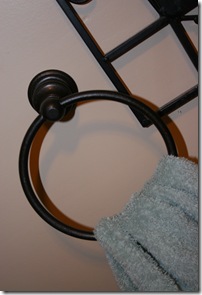
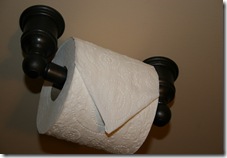
Here are the marvelous afters:

IMG_9947  IMG_9953 IMG_9949

IMG_9950 IMG_9952 

No, I don’t generally fold my toilet paper like that…you’re just special.

 IMG_9954 IMG_9956

I forgot to take before pictures of these, but you can just imagine a brushed chrome light switch cover and a funky blue register cover.

And so I can show you why I like *R* better than *K*:

IMG_9958

I sprayed this gold basket with the *K*. The can is actually sitting to the left of the basket.

It came out looking like this:

IMG_9963

A glossy black! Now, if I were going for “black” this would have been fine. The paint went on easy, good coverage, no problems there. I just DON’T like the color!!! Why did I use the *K* instead of the *R* to finish my bathroom project? Because, I ran out of the *R* and can’t find anymore!!! (Rustoleum if you’re reading this, we seriously need more of the ORB in my area!!!)

IMG_9965

This should give you a better idea of the two colors. The toilet paper roller is in *R* ORB and the basket is in *K* ORB. Do you SEE the difference?!?! Insane isn’t it? Both are ORB and yet they are two TOTALLY different colors!

I LOVE LOVE LOVE the Rustoleum Oil Rubbed Bronze and would use it again and again. In fact, if I find some more, I’m going to repaint the basket. Would I use the Krylon Oil Rubbed Bronze again, yes…if I want something to look black. If I want it to look brown…It’s Rustoleum all the way!

**For the legal stuff: I was NOT compensated in any way for this review…however, I’d be more than happy for Rustoleum or Krylon to provide me with some paint for a future project!!!

Hope everyone is having a great Monday! Time for me to get back to sewing!

Friday, August 27, 2010

Baby Shower

A friend of mine recently had a baby shower. She has a 10 year old boy and was surprised with a second pregnancy…a girl! Being me, I had to make all kinds of things.

Wanna see?

IMG_9735

Baby diapers turned into burping cloths. Embroidered with sweet Caroline Julia’s initials, then trimmed out in the sweetest ruffles.

IMG_9738

Embroidered onesie with matching brown and pink bows.

IMG_9740

Another sweet embroidered onesie, to match her new…

IMG_9742

Tutu!!! I loved making this. Think I’ll do a tutorial on this. Just have to buy more tulle. I think I may even start selling these.

IMG_9743


Doesn’t the sweet onesie look adorable with the tutu? I can’t wait to see Julia wearing it!

I was giddy after making it…giddy for another baby. Still praying that God will bless us with one.


IMG_9744

I just think this is the sweetest look! I wish I had made a matching headband for it. Think I will work on that. NEW PROJECT! Suh-weet!!!

IMG_9745 IMG_9747 Then there was the diaper cake! I couldn’t do a baby shower without one!

IMG_9748

I used my Cricut to cut out her name. I think it added the perfect touch!

IMG_9749 IMG_9750

I made sure the gift wrapping matched as well. If you look at the diaper cake, it’s sitting on a box. I used the Cricut to cut out “polka dots” since she was using the brown and pink polka dot theme in the nursery.

I had a blast making these items for her. This was one of those moments when you think…I should be doing this for a living. Hopefully….I will soon. Have to explain in another post!

My apologies for the dark pictures. By the time I finished the diaper cake it was almost midnight. I was trying not to disturb my sleeping family…bad lighting!

Have a GREAT day!

A.Rose

Sunday, July 11, 2010

Adult t-shirt to kids t-shirt

I have seen lots of shirt re-fashions on my favorite blogs lately. So, I had to try my hand at it...

The first shirt I did was an old white tank top. I don't remember what it was made out of, but after one wash it shrunk about 10 sizes!


I cut the seams off each side and pinned it so I knew where to cut.


About every inch, I made a cut. The cuts were about an inch and a half.


Then I went through and tied all the sections together.


You could get your kid to help at this point. Mine was to busy playing.


She tried it on and it fit perfectly.


She had to wear it to school the next day!

Since that one worked out so well. We decided to make another...

She had a cute herringbone skirt that didn't fit anymore. Since I couldn't bear to let the material go to waste. I cut the ruffle off the bottom, (to save for another project) and cut the top part into strips. This skirt had shorts under it. (I guess it's technically called a skort) So, I left the band around the top. Now she has black shorts with a herringbone belt. The shorts are fine to play around the house. The skirt was just to short for my liking.


Using an old black t-shirt, we cut straight down the middle this time and tied like before.


I made fabric rosettes out of the herringbone material and attached them at the neckline.


She loved this shirt, too. (sorry for the bad pic, it was really late)


I even had enough fabric to make a rosette for her hair.


Crimson really liked this project more than the white t-shirt. I showed her how to make the fabric rosettes and she made some to put on her flip-flops. (that's another post)

One of the greatest joys of blogging, is finding new projects to do. I literally have a craft room full of projects just waiting on me to finish! :)

Hope you have a great day and find something creative to do!

Strawberry bouquet

My best friend recently had a birthday. I wanted to give her something better than the original bouquet of roses. So...what was a girl to do? Well...she loves chocolate and chocolate covered strawberries. So why not make a chocolate covered strawberry bouquet?

Doesn't that just look scrumptious? I wish I had made a bouquet for myself? LOL!
If you want to make your own bouquet...follow along...


First, gather your supplies. I picked up a small vase and ribbon at Wal-mart.


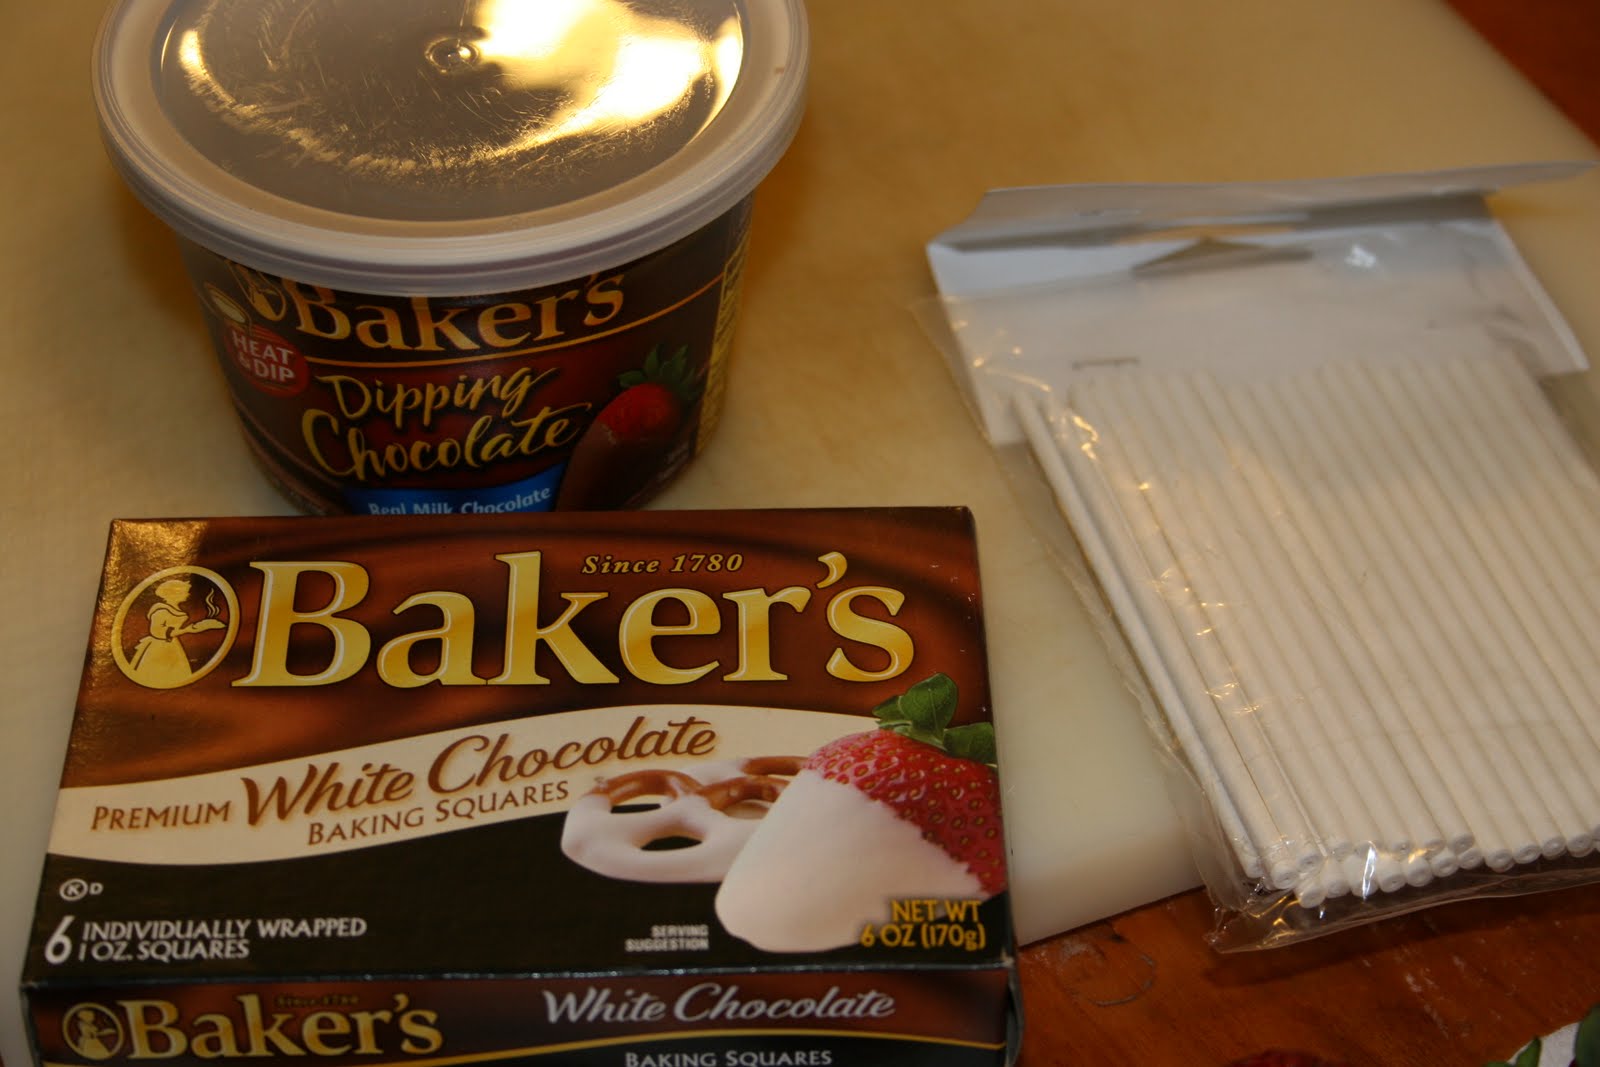
I also picked up milk chocolate and white chocolate. The lollipop sticks I found in the craft section.


I already had the tissue paper and sparkley silver ribbon. (Leftover from Christmas)

Basically, you just wash the strawberries and stick the popsicle sticks up through the leafy part of the strawberry like so:


Then dip the strawberries in the melted milk chocolate. I bought the kind that you melt in the microwave, but if you buy the almond bark or chocolate chips just heat them in a double boiler or you can use a metal bowl over a pan of boiling water. Most chocolate has the instructions to melt on the side of the package.

Once the milk chocolate had cooled, I drizzled melted white chocolate over it.


I scrunched up tissue paper and ribbon to stick inside the vase. This helps hold the popsicle sticks. Just arrange the strawberries how you want, to make a gorgeous edible bouquet.


Edited to add: I'm linking up with Hope Studios Tutorial Tuesday, click over to see some other awesome tutorials!


Try not to eat the strawberries before you can give the bouquet to a friend. I had more strawberries than would fit in the vase, so I had to try one. Let me tell you...it was really hard to stop at just one! I'm pretty sure my BFF loved them. I dropped them off at her office before work, she said they didn't make it home that day. :)

In other news...my leg is doing much better. I am able to walk without the walker or crutches. I still have to wear the walking boot. The doctor wants me to be able to walk without that by my next appointment. Which is on the 21st of this month. Hopefully, I can.

Now that my computer is working again...and accepting pictures...I should be able to post more frequently. Keeping my fingers crossed that the computer doesn't crash again. (I have some really cool posts ready)

Monday, May 31, 2010

Awesome new fabric

Happy Memorial Day! I hope everyone had a great weekend. We grilled out and hung out by the pool on Saturday. Today we did a little shopping. I made an iPod Touch case for my daughter back in December, but haven't blogged about it. I bought a few gorgeous fabrics today and will be making iPod covers, Netbook covers and a few other things that I've been thinking about. Wanna see the fabric? Ha! Of course you do...


I'm sure you want to see more:


And then there's the gorgeous damask...


Yeah! Me and my sewing machine will be having a blast soon!

On another happy note...I ordered the fabulous 75-300 mm lens for my camera. Should be in by the first of next week. I feel a photo shoot coming...


Have a great week!

Posted using BlogPress from my iPhone